

Salt And Sacrifice How To Parry
More salt. Less sacrifice.
Shimmering Buds are rare items that increase the number of charges in your healing flask — the more Shimmering Buds you collect, the more often you can heal in Common salt and Cede. Being one of those Metroidvania / Souls-like games means yous need all the healing yous can get to overcome the massive bosses blocking your path. While most of the Shimmering Buds are (relatively) easy to find, there's always a adventure you'll walk right past one. Let's become them all with the complete list of Shimmering Bud locations below.
More Table salt and Sacrifice guides:
Best Classes For Beginners | How To Play Co-op | How To Reach Bol Gerahn [2nd Region] | How To Achieve Corvius' Mire [3rd Region] | Inquisitor Tool Locations | How To Join Every Faction | How To Get 3 Merchants For Your Hub
All Shimmering Bud Locations
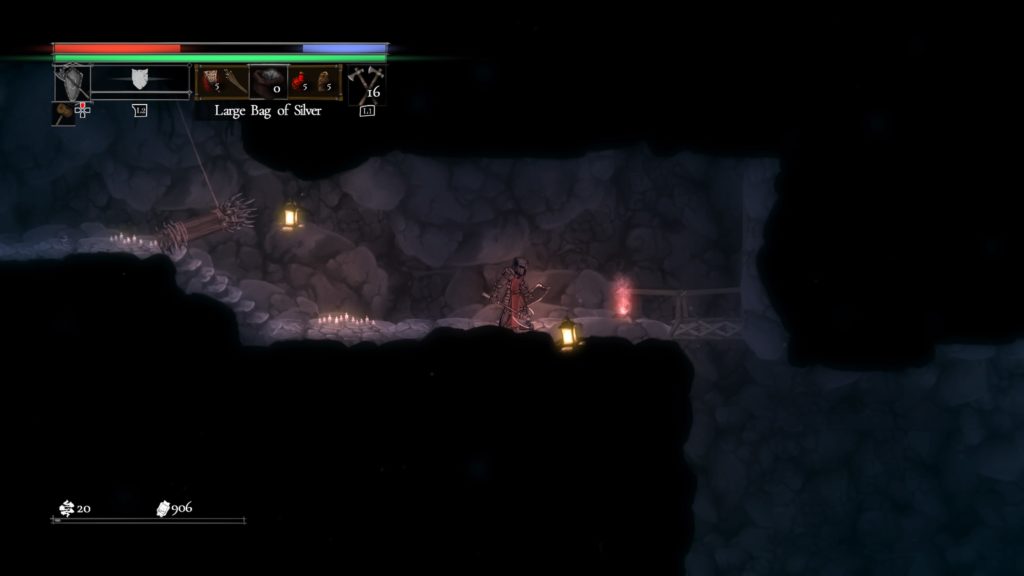
Shimmering Bud #1: Ashborne Village – Reach the eastward side of the main village through Craterstone Mines, and then travel left. Near the gatehouse / Named Mage Hunt room, drop down into the mines beneath. At that place is a cerise door that only opens later on completing two hunts. At the bottom, go right and y'all'll re-enter Craterstone. The bud is direct ahead.
Shimmering Bud #2: Ashborne Village – In Craterstone Mines, travel to the lesser-right door that leads to Stonehall Dungeon. The Shimmering Bud is located in the chest right virtually the entrance.
Shimmering Bud #iii: Bol Gerahn – Travel right from the Hate Cursed Matriach boss area and onto the tree. On a modest platform you'll discover this Shimmering Bud.
Shimmering Bud #4: Bol Gerahn – Deep downward in the Creeping Caves, accessible from the start of the region and to your correct, drop far below. Utilise the zip-line and go on on the path downwards. Eventually y'all'll reach an area with crumbling wooden platforms on your left. Bound upwardly and onto the stone ledges to reach an optional alcove with this bud.
Shimmering Bud #five: Corvius' Mire – Starting from the Marega Grednya boss expanse, reach the Verdant Ruins and travel up the ladders until you discover a stone circle on your left. Use information technology and spring over the spectral platforms. The bud is directly ahead.
Shimmering Bud #six: Dreadstone Peak – From the entrance to the region, get left and ride the current of air to the Sentinel Caves. Stick to the right wall every bit you climb upward. Once you climb ladders, you lot'll find an apse behind one of the ladders. Become down this path to find the bud.
Shimmering Bud #vii: Elder Copse – At the Icon of Pandemonium boss expanse, go correct — travel downward, using ii zip-lines to accomplish a ledge with a chest containing another Shimmering Bud.
Shimmering Bud #viii: Elder Trees – The final Shimmering Bud is located past the Worm That Does Not Die boss area. Get upward and out to the Temple of Embers. Use the zip-line twice going downwardly, climb the ladder downwardly, then ride some other zippo-line to reach a chest.
That fully upgrades your Shimmer Bud and gives you full healing. You'll demand information technology for the bosses waiting for you at the end of the Elder Copse and across.
Source: https://gameranx.com/features/id/303312/article/salt-and-sacrifice-how-to-fully-upgrade-your-healing-flask-shimmering-bud-locations/
0 Response to "Salt And Sacrifice How To Parry"
Post a Comment